UPDATE 10/18/20 – edited the pattern for clarity
Hello again!
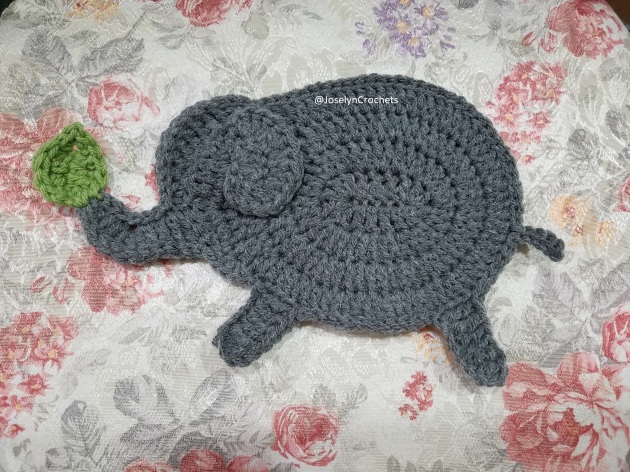
I made some elephant coasters a while back (thanks to a friend’s request) and I was pretty happy with how they turned out. Unfortunately it took me way too long to post the patterns! I had the rough outline written already, but I really needed the motivation to edit and then finally post on here. Well, here is pattern #1 which is a side-profile elephant! Pattern #2 will be coming sometime in the near future. So for now, if you want to make an elephant coaster, you can follow this pattern for a side-profile elephant. Or, you can wait until I post pattern #2 which is the “upright” elephant (you can find a pic of it on my Instagram @JoselynCrochets). Or, you can make both elephants because you just really like elephants. Or, you can make neither because you don’t like elephants. So many choices!!
As usual, please let me know if you come across errors!
Stitches (US terms):
- Sc – single crochet
- Hdc – half double crochet
- Dc – double crochet
- Tc – triple/treble crochet
- Sl st – slip stitch
I used a size H hook for my coasters and they come out a bit large (suitable for a bowl). You can use a smaller hook size for a smaller coaster.
SIDE ELEPHANT
- Ch 8, then Dc into the 3rd loop from the hook. Take note of this chain-space area that results from skipping the first two loops — we will count this as a Dc. Dc into each of the remaining stitches for a total of 7 Dc in this row (counting the chain).
- Do 4 more Dc into that last stitch. You should now have 11 Dc’s total. Your work will naturally start to curve.
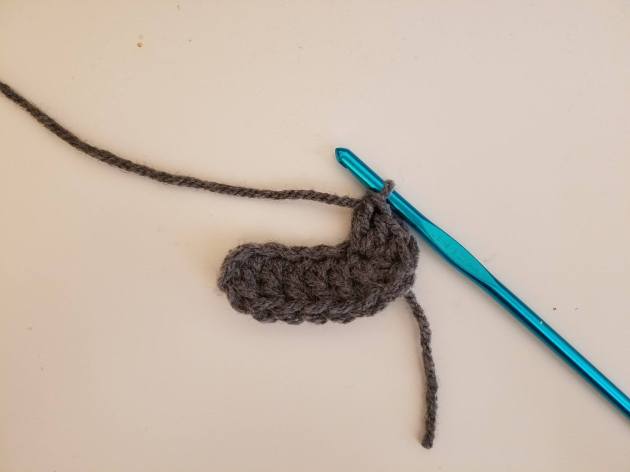
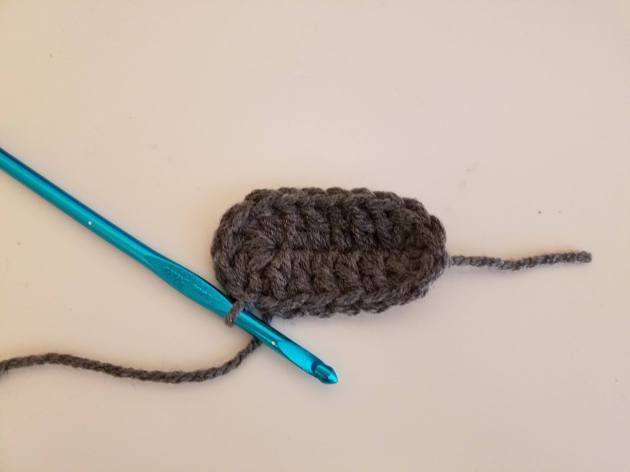
- Rotate your work so that the last few Dc’s you did (which were all in the same stitch) are on the right side (see photo above). We will Dc into the remaining stitches of this row: 1 Dc into each stitch (5 Dc total). In the final stitch, do an additional 3 Dc. Sl st to the chain space at the beginning to finish your oval shape. There should be a total of 19 stitches in this oval.
- The next few rows involve increasing your oval to become your elephant’s body. Ch 2, Dc into that same stitch (the previous round’s chain-space where you had put the sl st). Note that the Ch 2 counts as a Dc. Do 2 Dc’s into the remaining stitches along the oval. Sl st to the chain-space of this round to join. (38 stitches this round)
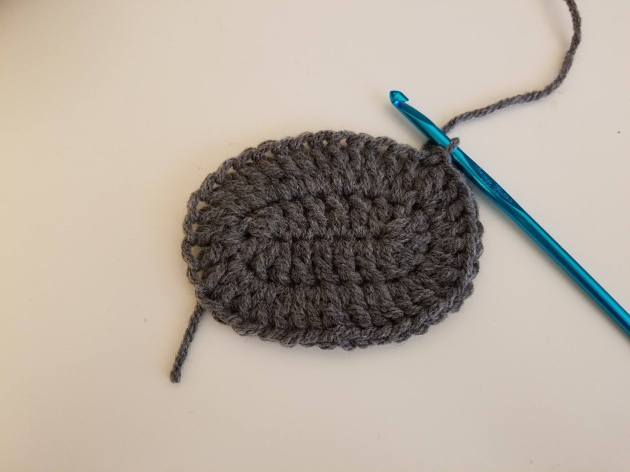
- Ch 2, Dc into that same st. Dc in the next st. Repeat along this round (2 Dc in 1 stitch, 1 Dc in the next stitch). Sl st to the chain-space of this round to join. (57)
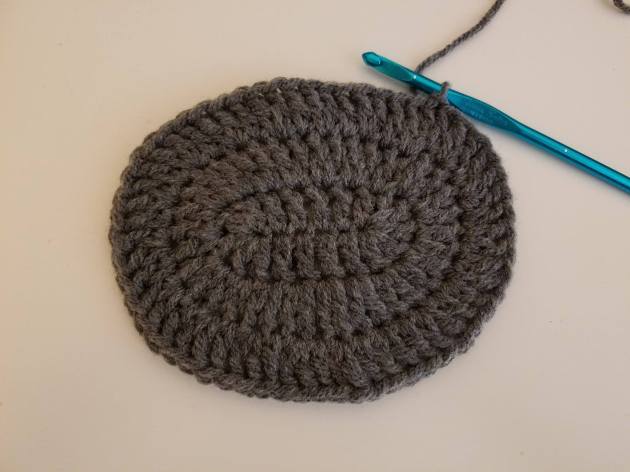
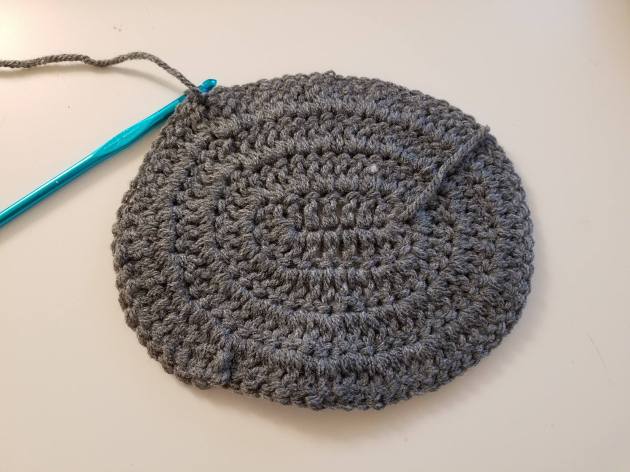
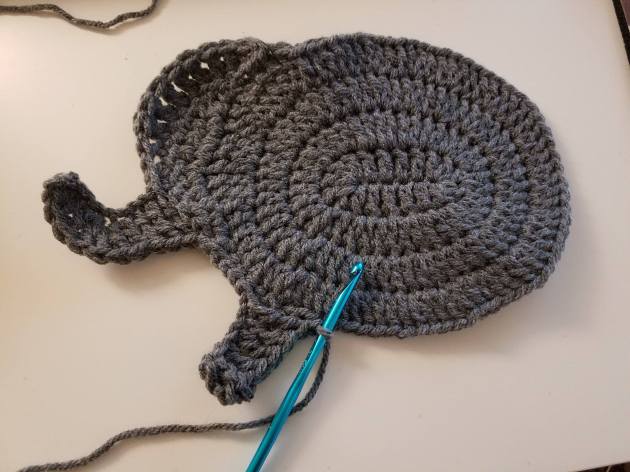
- Ch 2, Dc into that same st. Then, 1 Dc in the next stitch, 1 Dc in the next stitch. Repeat along this round (2 Dc in 1 stitch, 1 Dc in the next stitch, 1 Dc in the next stitch). After the 56th stitch, your work should look like the first photo below. Now, continue the same pattern for this row but use Tc’s instead (so you will be doing 2Tc, 1Tc, 1Tc). Do 3 sets of this pattern (finishing with stitch 68).
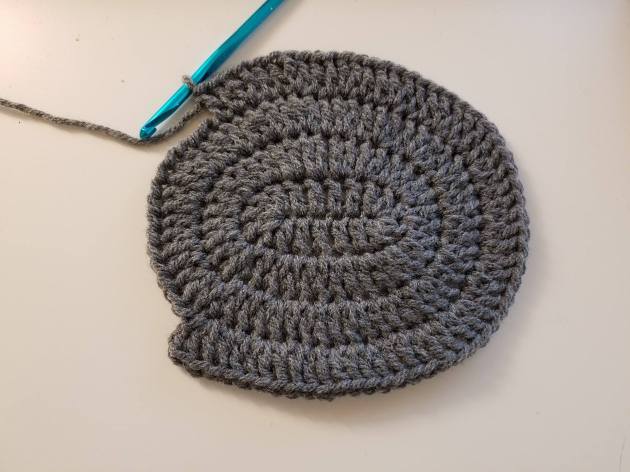
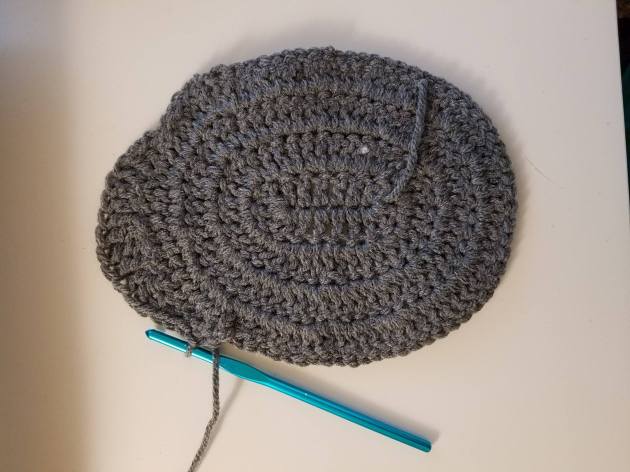
- Finishing this row: continue the same pattern for this row but switch back to Dc’s (2Dc, 1Dc, 1Dc). Sl st to the chain-space of this round to join. (76 stitches this full round). Notice that the Tc’s stick out a little more than the Dc’s — those stitches will be the foundation for the elephant’s head.
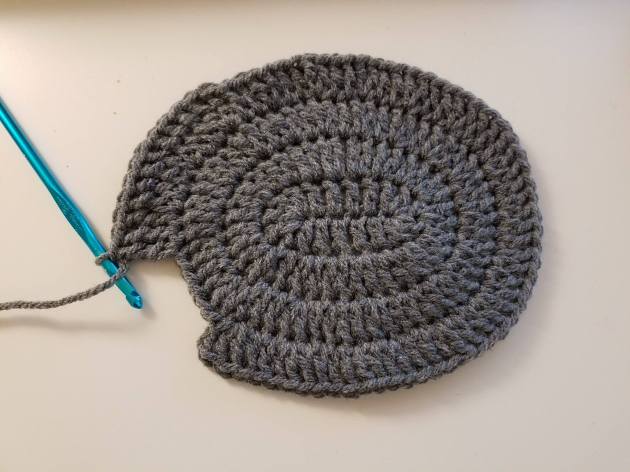
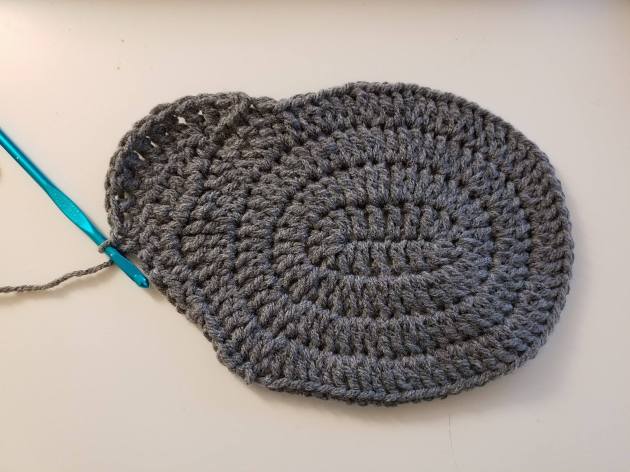
- Now we will work on only the head of the elephant. Flip your work so that the underside (the “wrong” side) is now facing up. Working counter-clockwise along the oval (moving towards the area of the Tc’s), do the following: Sl st 5 times. Then, ScSc Hdc Dc Dc DcDc Tc Tc Tc DcDc Hdc Sc Slst Slst Slst. (If I typed 2 stitches together like ScSc, then that means they’re within the same stitch).

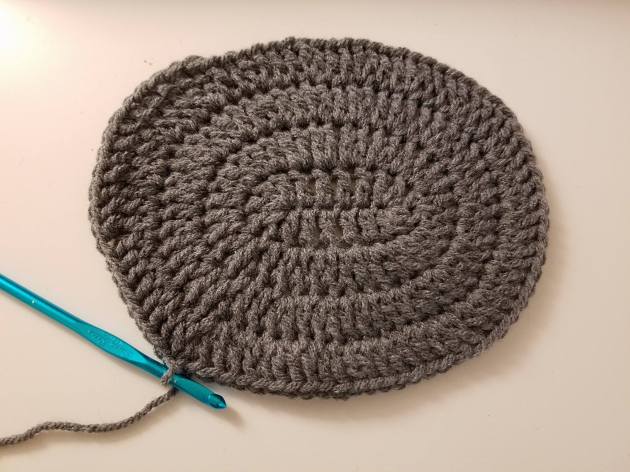
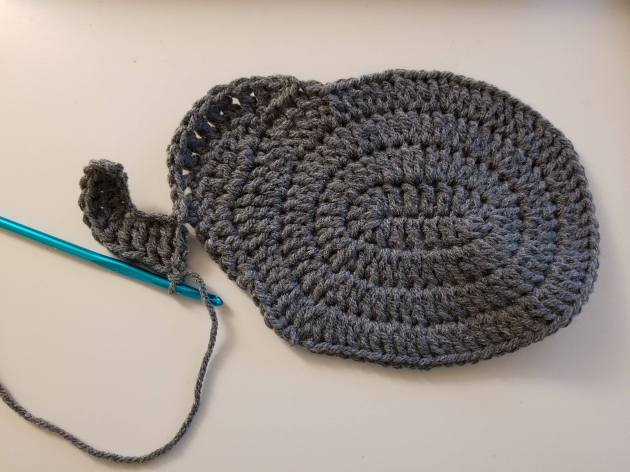
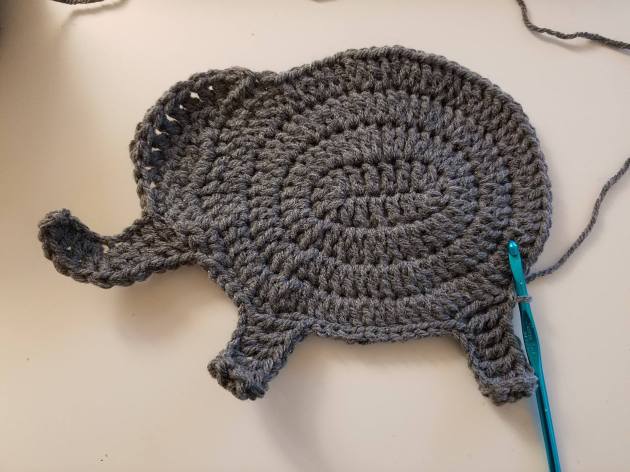
- The next row will continue the head and include the nose. Flip the work so that the “correct” side is facing up. (First photo shows what your elephant looks like when you’ve flipped it). Working counter-clockwise (along the bumpy section), do the following: Hdc Dc Dc Tc Tc Tc Tc Tc Dc Hdc Sc.
![11]](https://joselyncrochets.wordpress.com/wp-content/uploads/2017/08/111.jpg?w=630)
- Start the nose by chaining 10. Then, starting in the 3rd loop from the hook: Hdc Dc Dc DcDcDc Dc Tc Tc Tc. Slst the nose onto the head (about 4-5 stitches away from the start of the ch).

- Sl st along the body (about 5 st) until you reach an appropriate place to start making a leg. Ch 8. Tc along the chain (start in the 3rd loop from the hook). Sl sl to the body (about 4 stitches away from the start of the ch).
- Sl st along the body (about 11 st) until you reach an appropriate place to start the next leg. Repeat the same steps as the previous leg.
- Sl st along the body (about 6 st) until an appropriate spot to make a tail. Ch5 and Sl st along the chain (start in the 3rd loop from the hook). Sl st to the body (1 st away from the start of the chain). Now, to finish the elephant body, Sl st along the body (moving counter-clockwise) until you’ve Sl st-ed around the nose. Finish off.
- Time to make the ear! Make a magic circle; Ch 2. 6 Dc into the magic circle. Do not join the round. Flip the work, Ch 2, then 2 Dc into each of those stitches you just made. For the very last stitch, do a Sl st into the same st (after you’ve done the 2 Dc’s). Then insert your hook into the magic ring (center base of the ear) and Sl st. You should have a semi-circle shape. Finish off with a length of yarn so you can sew the ear to the head.
- To sew the ear onto the head: position the ear where it looks “natural”, but make sure it’s in a spot where a coffee mug can be placed on your coaster and not have a bumpy bottom. You wouldn’t want to spill coffee on your coaster! Loop the yarn back and forth through the magic circle a few times to connect the ear to the main coaster. When you’re satisfied, loop the yarn along the base of the ear to further connect the ear to the main coaster.
- Et voila! If you’d like, you can make a leaf (or a heart, or a flower, etc) and sew it onto the trunk tip.
Thanks for visiting! Please remember to post pics and credit me if you make this coaster. 🙂
Don’t forget to check out my other free patterns!
